
Welcome to October’s installment of Dear Urbaneer, where we dip into our mailbox to answer questions that are puzzling our clients.
If you’ve been searching for a freehold property to purchase in the original City of Toronto, you’ve now discovered the age of the city’s housing stock ranges anywhere from 70 to 160 years, which means the condition of a lot of dwellings can be marginal at best. Compound this reality with a market where listings are scarce, and affordability is eroding (I wrote about this in How The Demand For Low-Rise Housing Is Fueling Toronto Real Estate Prices ), and many Buyers are finding they have no choice but to buy a home that requires renovations. While this is – more and more – ‘par for the course’, I’m discovering that while many Buyers find no shortage of inspiration in envisioning the end result, they’re less informed on the pragmatic processes necessary to achieve completion.
In last month’s Dear Urbaneer, I explored what steps are required when you are putting an addition on to your home in “Dear Urbaneer: What Are The Steps To Add Onto A House In Toronto?” which resonated with readers and prompted one to ask about buying and renovating an existing structure, as opposed to adding on to their home:
Dear Urbaneer:
Well into our housing search, we’ve come to realize a few things, among them that in our price point, we are most likely going to buy a home that will require some work to bring it to our taste and to suit our needs. We are actually excited at the prospect of being able to put our own stamp on our home, working from the inside out. But where do we even begin? And how should this figure into our purchase plans?
Signed,
Ready to Renovate

Here’s my response:
Dear Ready To Renovate:
You touch on a very good point. With the rising number of homes requiring renovation, a home purchase isn’t just about buying a home anymore. In many cases, you’ve got to have a wish list, budget, timeline and plan around how you can renovate that existing structure to suit your needs. With that in mind, if your plans are to renovate the existing structure as opposed to adding on to the building, here are some steps to include in your planning, after you’ve located the property that fits your budget and location desires.

✓ Set Your Budget
The very first step in the renovation process is all about dollars and cents. Set your budget for renovations and decide if this is something to incorporate into your house-hunting budget (i.e. purchase home and renovate straight away) or if you are looking to purchase and then renovate your home systematically over time.
Don’t forget to leave lots of wiggle room (aim for about 10 percent) to account for unexpected expenses as the job moves along.

✓ Assess Your Home’s Condition
Some homes require a little TLC – and some require a bulldozer. In some cases, this is obvious to the naked eye, and in others, the answer lurks in the walls and in the foundation. It may be worthwhile to have a property inspection done before you make your purchase – or enlist your contractor in the early stages with your vision – if you want to be really thorough and have some accuracy in costs.
At urbaneer.com, we have a critical eye in the assessment of a property even before you purchase, which takes into account The Six Essential Layers Of Property. And even when you’re intending to renovate your property, it’s really important to assess your property and address what needs repairing, what entails regular maintenance and what components of your dwelling require upgrades and renovations. Here’s an insightful read called Dear Urbaneer: We’ve Moved In To Our New Home. Now What?
You’ve got to make sure before you begin that your renovations plans and budget match the amount of work that needs to be done to the home.

✓ Draft Your Plans
There is literally no more important part of the process than the planning, pre-renovation stage. Not only does this set the scope for your renovation, if helps you identify potential problems before hammers start swinging. It is far more cost-effective (and more efficient in terms of keeping you to your timeline), to be able to devise plans around how to deal with “hiccups” before they happen.
You no doubt have a picture in your mind’s eye of what your renovated home will look like, but you’ve got to take steps to communicate that vision in your mind to your contractor. The way to do that is to create some visual representation. If you are really going DIY, you could probably sketch it out yourself, along with comprehensive notes around your wish list.
As with all renovations, there are varying degrees of work (and cost) involved at every stage of the process. If you are thinking of having an architect or interior designer draw up plans, this is the point of the process in which to engage them.
Incidentally, even if you’re not embarking on a renovation right away, chances are your purchase will require some attention. In my own purchase of a dilapidated triplex in Charlottetown, PEI – which my friend James and I transformed over eight years into The Black House – we started with a ‘To Do List’ which systematically addressed all of the deficiencies identified in the home inspection report (which, incidentally, missed some critical issues including mould growing between the walls!). Here’s a post from our Upper Hillsborough series on our upgrade program well worth reading called: Tackling The Property Tune-Up.

✓ Hire Your Contractor
When looking to hire your contractor, it’s a good idea to a) go with someone who has great references and an impressive portfolio of work and b) interview a few just to make sure that you select someone that you sync with and will be the best fit for your job.
Once you’ve hired your contractor, make sure you lay out the scope of the plan in writing. Include things like ground rules: times of day during which work can be completed, homeowner inspection access, parking, contractor washroom use, etc. etc. Laying out expectations from the get-go can help eliminate problems down the road. Remember, you cannot have too much information in writing outlining what you’re objectives are in making the house your home.

✓ Live In? Live Out!
As most contractors will tell you, wherever and whenever possible, live off-site during your renovations. While it may seem like a great money-making move to stay put, you’ve got to realize the real-life impact of living through a renovation. Are you ok with coming home after a long day at work and having no kitchen/bathroom/space (insert item here) potentially for a long time?
Living in renovation zone can also be dusty and noisy. Do you have children or pets that would be impacted? How would it affect you if the renovations ran beyond your timeline, as this happens more often than not? They can be stressful for everyone involved, and if they extend, they can take a toll on your sanity – and your relationship. Here are some helpful hints in one of my past blogs to help you survive a renovation called “Dear urbaneer: Help! We Want To Renovate And Keep Our Relationship Intact!”

✓ Decide What Permits You Need
Generally speaking, you’ll need a permit to do anything structural or with plumbing and electrical in your home. From structural changes to adding hardscaping and structures outside the dwelling to digging out and underpinning a basement, you’ll likely need permits. Even if you are doing a small-scale renovation, permits may be required, And although a strictly cosmetic renovation may not make permits necessary, I recommend you check with the city. Although navigating City bureaucracy can be laborious and time-consuming, your future resale value will be enhanced if you can be sufficiently informed to offer a future Buyer some assurances on your efforts.
By the way, a lot of houses by mediocre flippers come to market having been renovated without permits. (Very concerning!) For ease, here’s a guide to Toronto Building Permits.

✓ Begin With Structural Jobs And Building Components
Now that you’ve got the plan with all of its parts in place, it’s time to get those hammers swinging.
In terms of where you start, you generally begin with larger, structural and building components and then work your way in (or down, or up, whatever the case may be). Attend to the roof, siding and windows straight away (this will keep your project dry). Work next on any foundation issues (including water management), from the ground up, including structural issues with beams and joists.
While there is nothing glamourous about dealing with the structure and building components (wiring, plumbing, heating/cooling, insulation), it’s critical you address what’s behind the walls before you address the cosmetics.

✓ Demolition
If you are a watcher of Design and Décor Media, you know exactly what happens during demolition. At this phase, it’s about getting rid of the old to make way for the new.
Make sure that you have a container for all of your construction waste. If your home was built prior to 1990 (and particularly if it was built during 1950 to 1980) be cautious during demolition activities. You may encounter asbestos, which was commonly used in construction (usually in insulation) during that time period. Asbestos is actually safe in your home, until it is disturbed, as it often is during renovations. In urbaneer’s Healthy Home Series, we wrote about what to watch for and what to do if you encounter asbestos in Healthy Home: What You Need To Know About Asbestos.

✓ Space It Out – And Exercise Patience
Now that the demo is done, it’s time to rebuild. This is the point where you move walls, create new windows and otherwise change your home’s layout as you wish, implementing structural carpentry. Think new window spaces, doors and the like.
After that footprint is in place, you go “behind the walls” (before the walls are closed in) with HVAC systems, ductwork and any electrical and plumbing systems.
Once that’s in place, you lay the insulation in the walls and the ceiling.
Once you’ve received the ok from the City inspector on any new plumbing or electrical work, it’s time for to encase your walls with drywall. Drywall will need to be taped and mudded, and then sanded smooth (i.e. this is messy work, and you won’t want to be present during this stage, unless you have to be).
Patience!

✓ Work Out The Details
Now it’s time to install some of the materials and finishes that will truly begin to make your renovations look the way that you want them to.
It’s time for decorative carpentry – like cabinetry, mouldings, baseboards, trim, built-ins and the like.
For kitchens and bathrooms, if plumbing fixtures weren’t installed in the previous step, they go in now. You also have countertops and backsplash make their appearance at this stage.

✓ The Final Touches
It’s during this stage that the walls get painted and the floors are laid down. There are different schools of thought over which of these activities you complete first. Some feel that the floors should be done last to avoid paint splatter. Some feel that the paint should be done first, as you run the risk of getting dust residue embedded in the paint from sanding the floors.
It’s also now when you attend to lighting, hanging any fixtures or installing any mounts.

✓ Landscaping
The final touches happen outside your home, depending on how much you’ve planned in terms of landscaping. Both hard and soft landscaping (including building of decks, pools and outdoor structures) come into play now.
Here are some handy links I found that break the stages of renovation down for you in more detail. Here’s “How To Renovate A House” and here for “8 Step Guide To Remodelling Your Home”.
Are you ready to renovate?
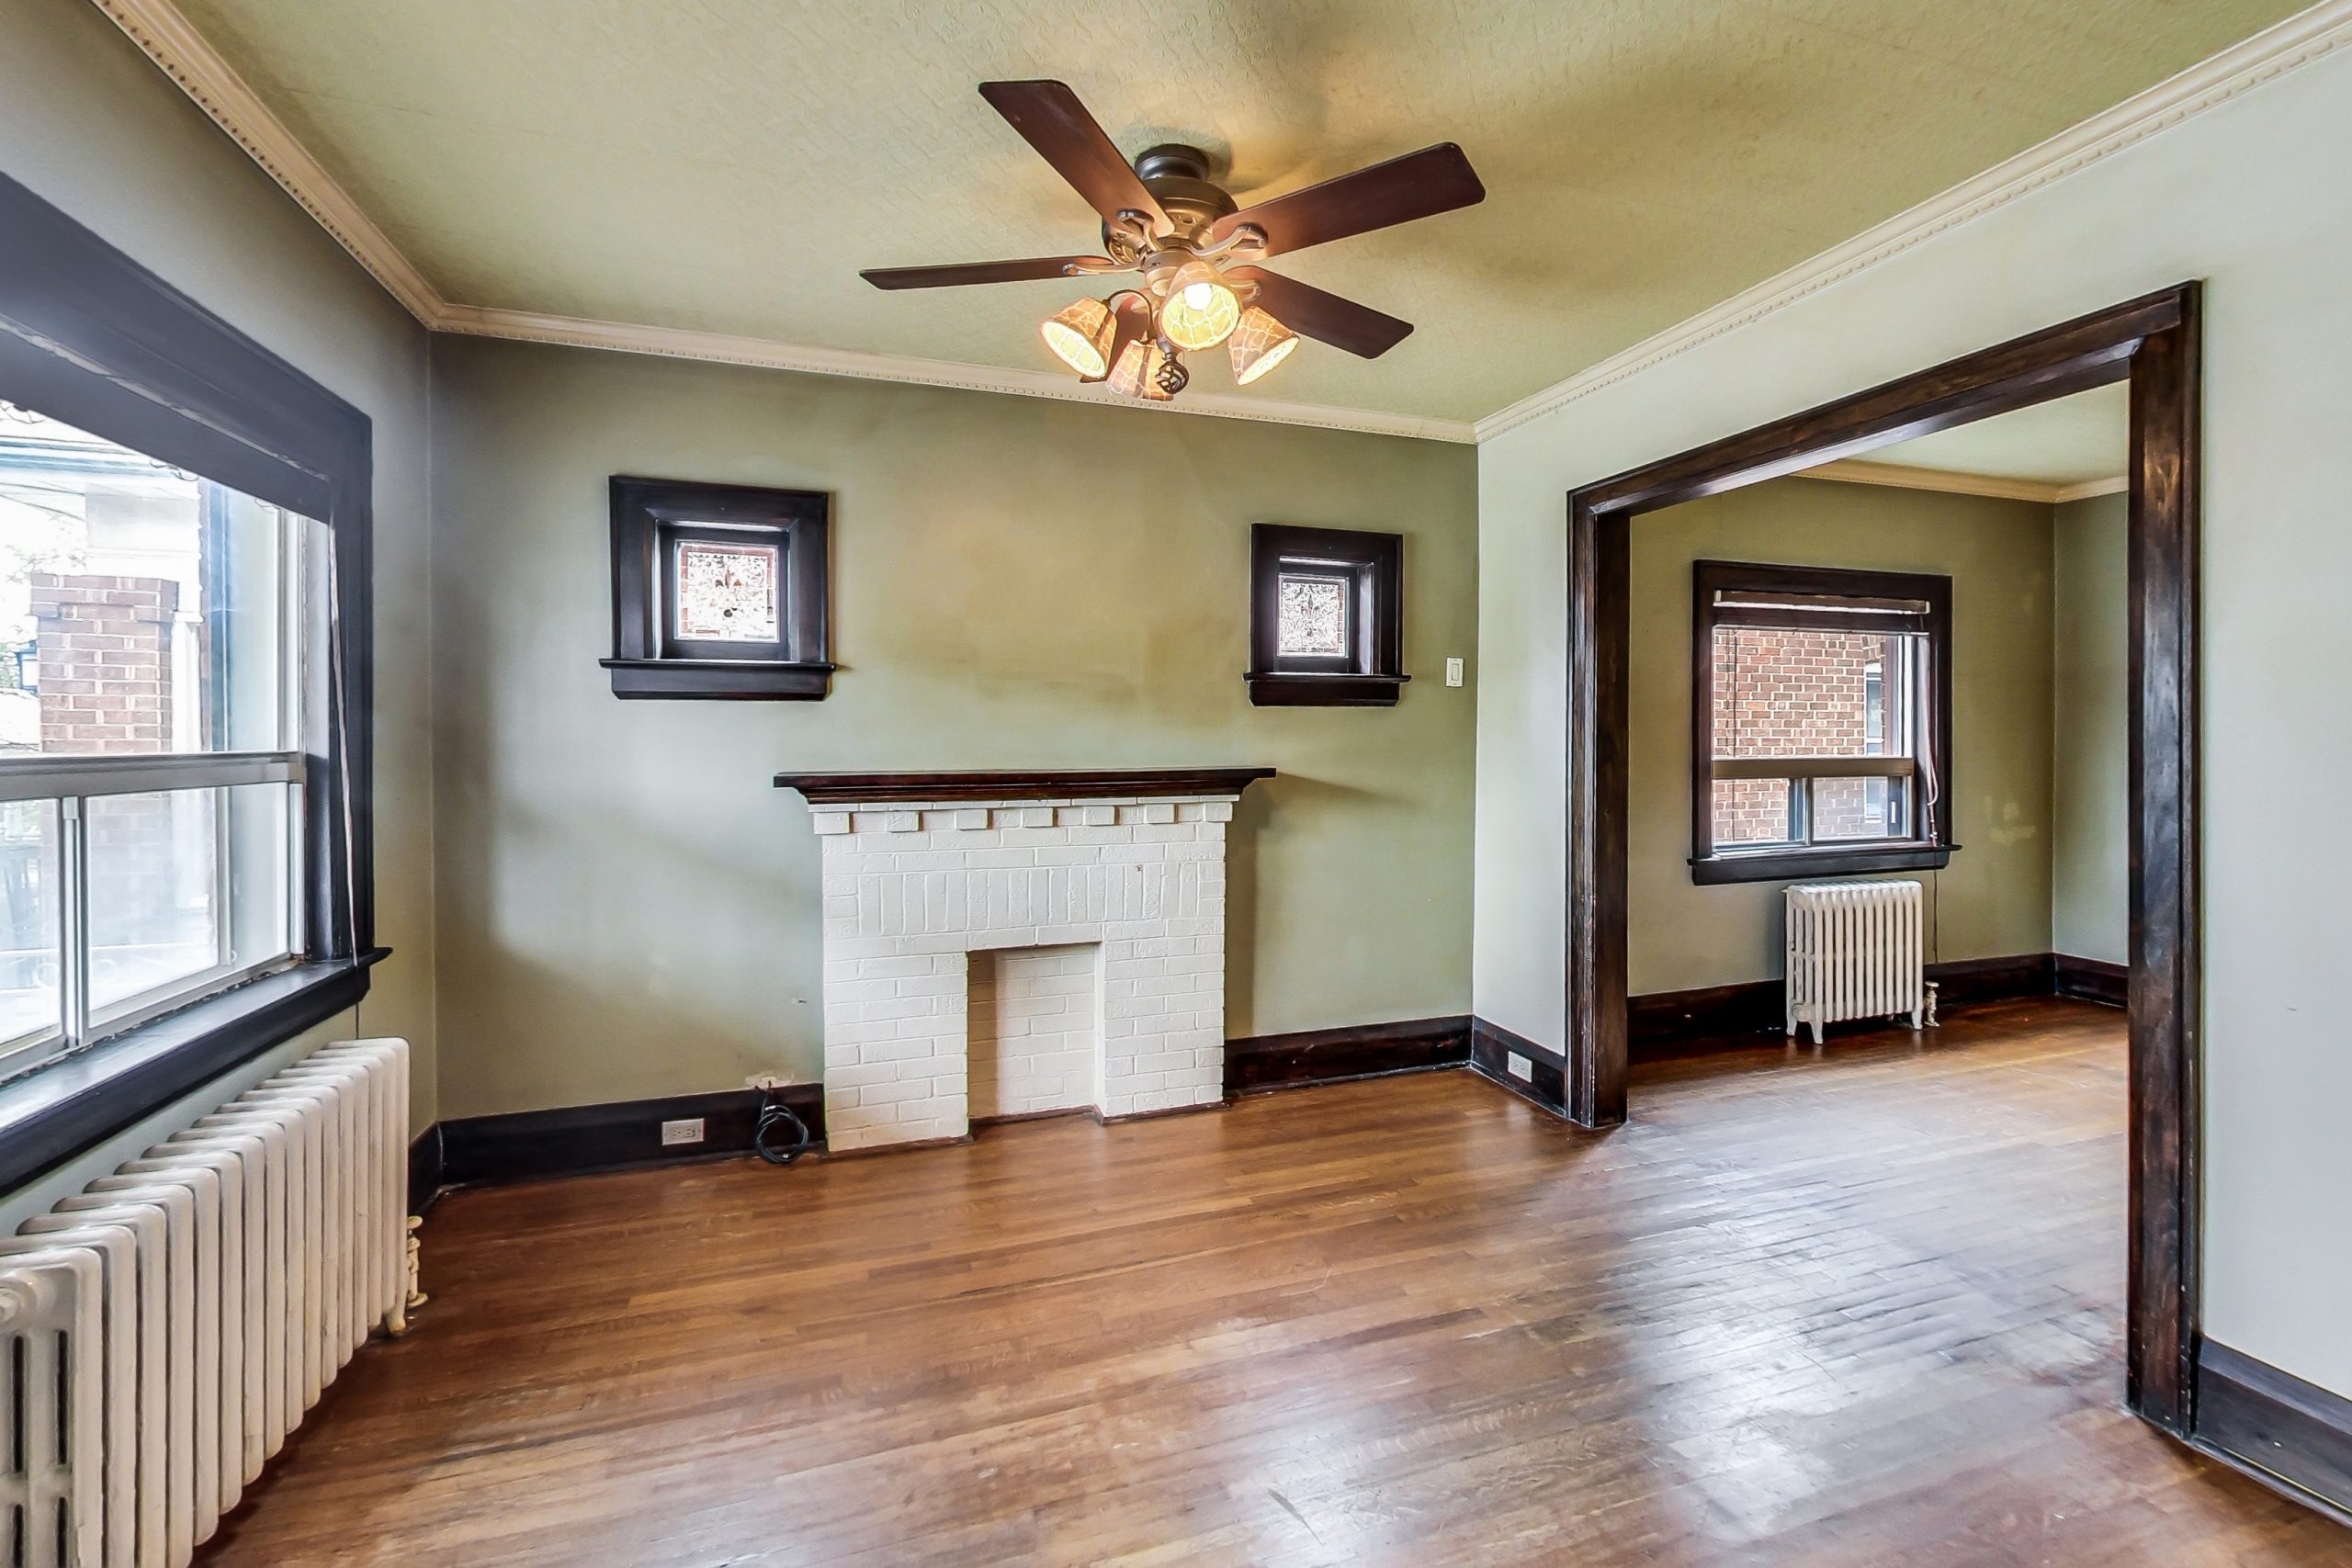
83 Clovelly Avenue is a prime example of a bungalow built in 1920 – back when the area was just a streetcar suburb of Toronto (one of the first!). This 2bed dwelling on a 25′ x 120′ lot represents a great opportunity! Refurbish this character-rich century bungalow to create a custom executive residence. This property is full of possibilities!
Pssst!! The bungalow right next door at 85 Clovelly Avenue was bought in 2014 and was subsequently substantially reinvented as a 2.5-storey 4+2bed, 3.5bath detached residence with a private drive, artfully balancing the dwelling’s Arts and Crafts roots with contemporary materials. In June of 2021, it sold for $2,125,000!)
An Opportunity To Transform A Vintage Bungalow Steps To The New Oakwood Station – NOW SOLD!


Questions? Want to book a viewing or see the inspection report? Contact james@urbaneer.com!
Are you mulling the idea of buying a property to purchase that provides the opportunity to put your own stamp on it through renovations? My team and I have decades of experience, both professionally and personally, when it comes to re-inventing existing properties through renovations. We’re here to help!
– Steve & The Urbaneer Team

Steven Fudge, Sales Representative
& The Innovative Urbaneer Team
Bosley Real Estate Ltd., Brokerage – (416) 322-8000
– we’re here to earn your trust, then your business –
*Did you know we were recently listed as one of The Top 25 Toronto Real Estate Agents To Follow On Twitter! – The Top 50 Blogs On Toronto – and The Top 100 Real Estate Blogs In Canada? Consider signing up in the box below to receive our FREE monthly e-newsletter on housing, culture, and design including our love for unique urban homes and other Toronto real estate!
*Love Canadian Housing? Check out Steve’s University Student Mentorship site called Houseporn.ca which focuses on architecture, landscape, design, products, and real estate in Canada!